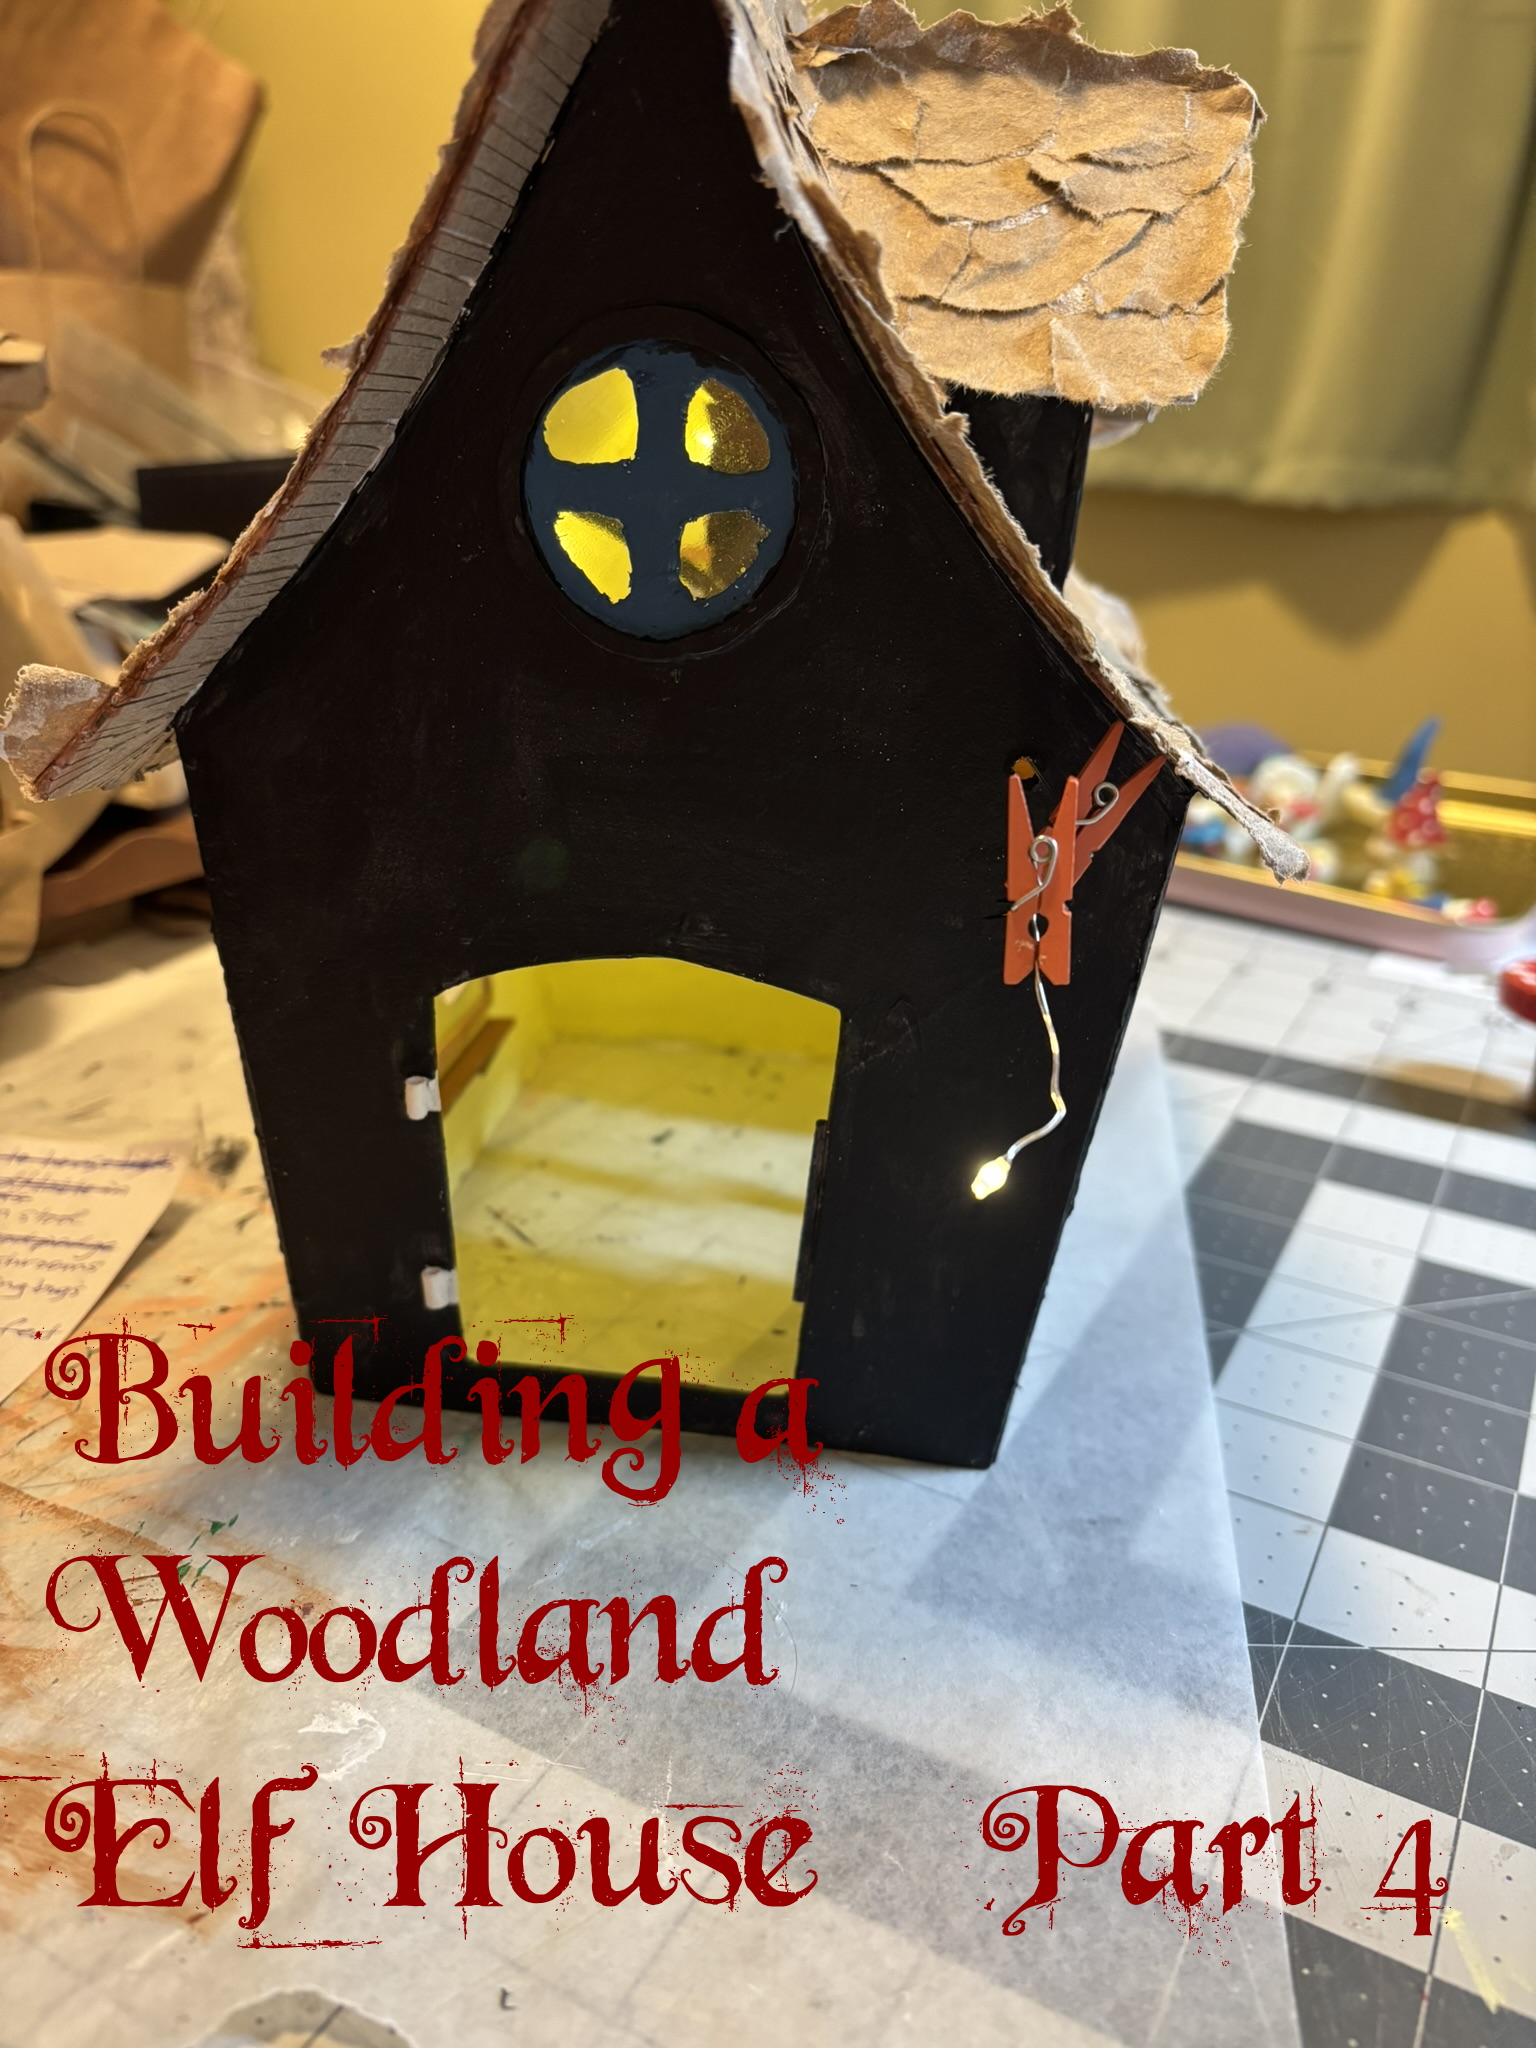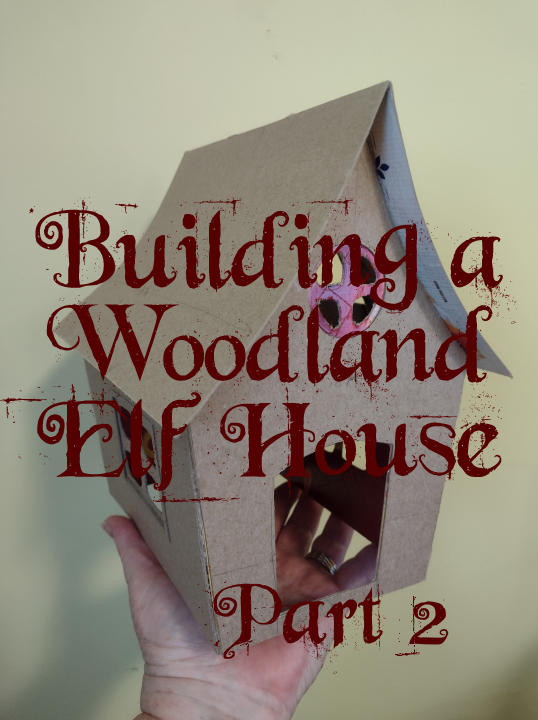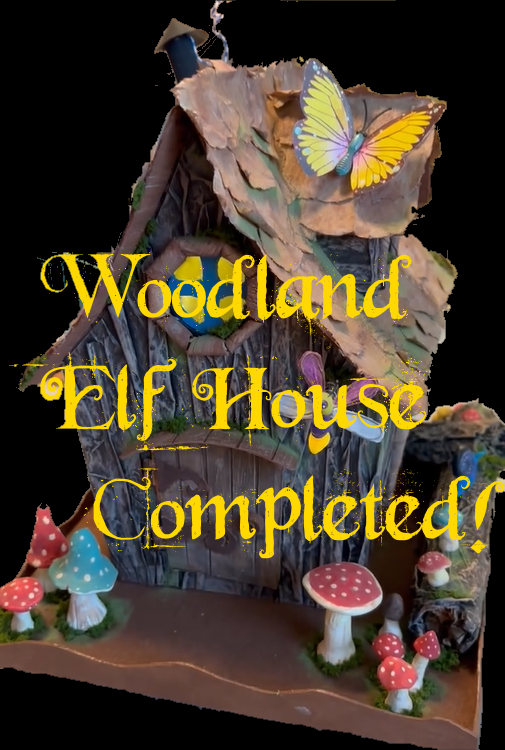
Ding, dong the house is done!
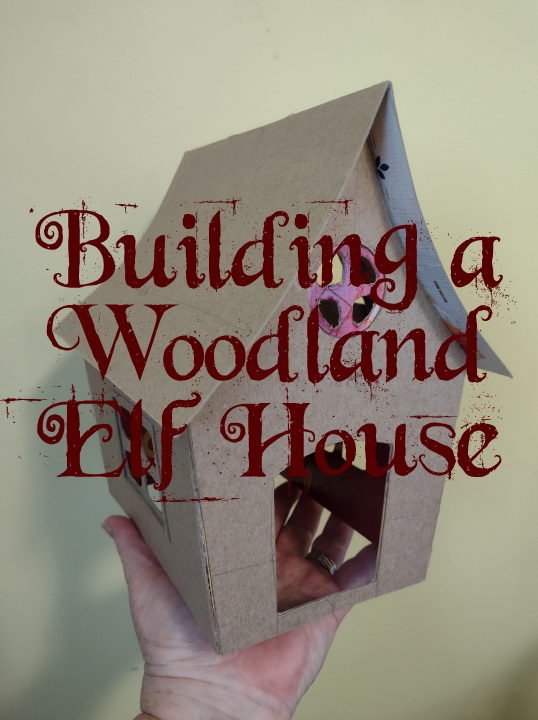
More on the outside of the house, I create twig window trim and elements of the yard on the exterior of my Woodland Elf House (1:24 scale) built from recycled household materials and glue.
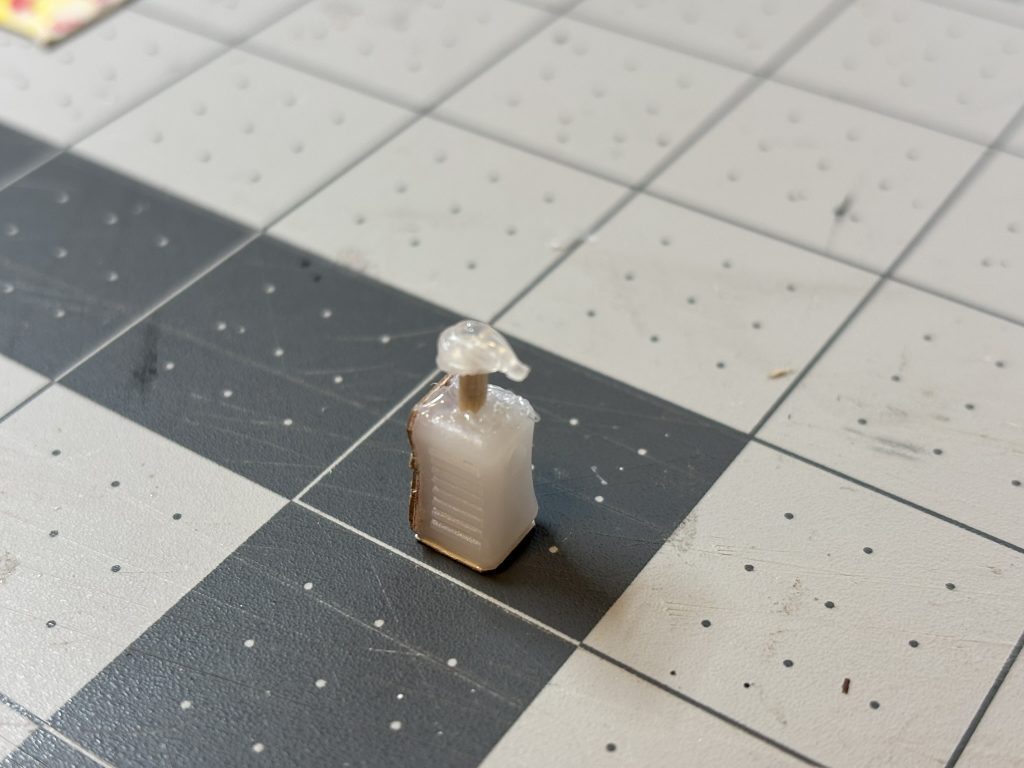
Installing twig trim; creating a log in the yard, mushrooms, critters, and mossy touches on and around the house.
By the time this build was nearly completed, I was so, very ready for it to be done…or rather I felt done with working on it. I will clear my mind of the little house for now and work on something else to move on past this. I love this little woodland elf house, so I don’t want to linger in the feelings of ready to be done with it. I will cherish it. When I’m done displaying it on my coffee table, I’ll move it to the display case in my studio. Of course, the elf is still to come but that will wait for a couple weeks at least. Maybe the elf is foraging or visiting friends elsewhere in the woods. Yeah, that’s what I believe is happening!