Posted on by rhondaComments Off on A Whole Set of Valentine’s Cards!Tagged card, svg
I created a whole set of cards at once and in this video I show the steps I took to do so. I created specialty shapes as .svg files available for you to download for free from my vault (look for design R007). Using a whole bunch of supplies from my stash, I cobbled a pretty good set of cards I’d be happy to hand to my love any time. These tips and techniques can be used to make a set of cards for anything you like whether they look the same as each other or all different as I’ve done.
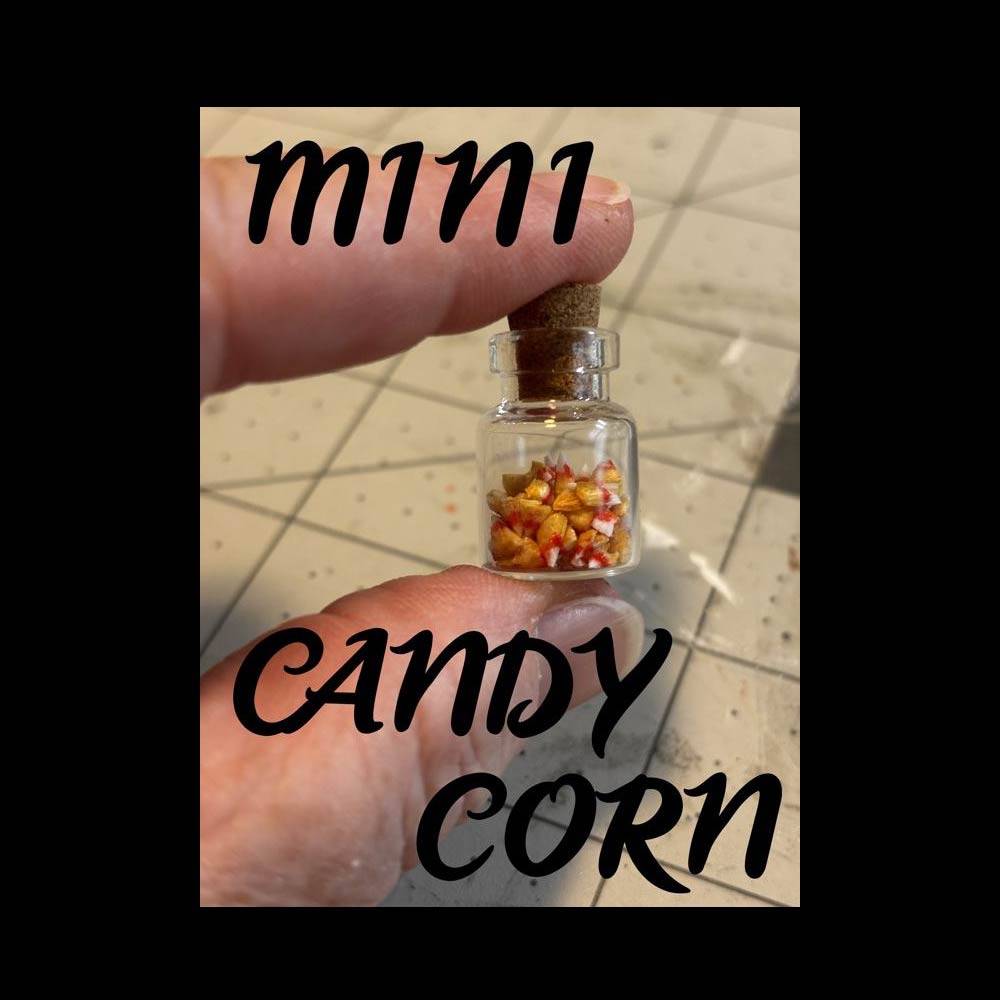
I made some adorable miniature candy corn from the foam inside foam core and some permanent markers. Easy if you’re inclined. I added it to a miniature jar with a cork lid and will one day put it in a candy store scene, but for now it’s holding its own as a wonderful Halloween decoration.
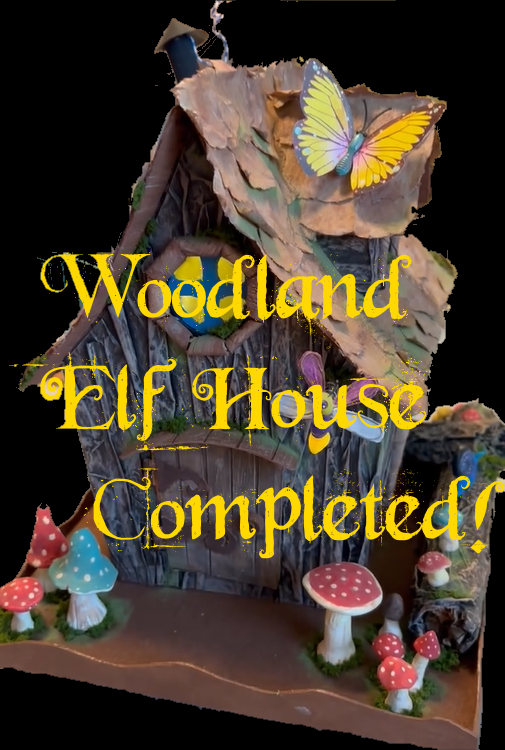
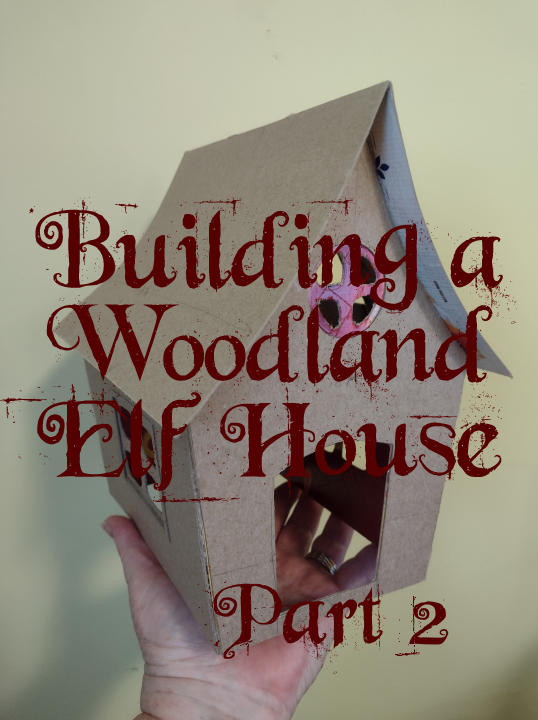
More on the outside of the house, I create twig window trim and elements of the yard on the exterior of my Woodland Elf House (1:24 scale) built from recycled household materials and glue.
Installing twig trim; creating a log in the yard, mushrooms, critters, and mossy touches on and around the house.
By the time this build was nearly completed, I was so, very ready for it to be done…or rather I felt done with working on it. I will clear my mind of the little house for now and work on something else to move on past this. I love this little woodland elf house, so I don’t want to linger in the feelings of ready to be done with it. I will cherish it. When I’m done displaying it on my coffee table, I’ll move it to the display case in my studio. Of course, the elf is still to come but that will wait for a couple weeks at least. Maybe the elf is foraging or visiting friends elsewhere in the woods. Yeah, that’s what I believe is happening!
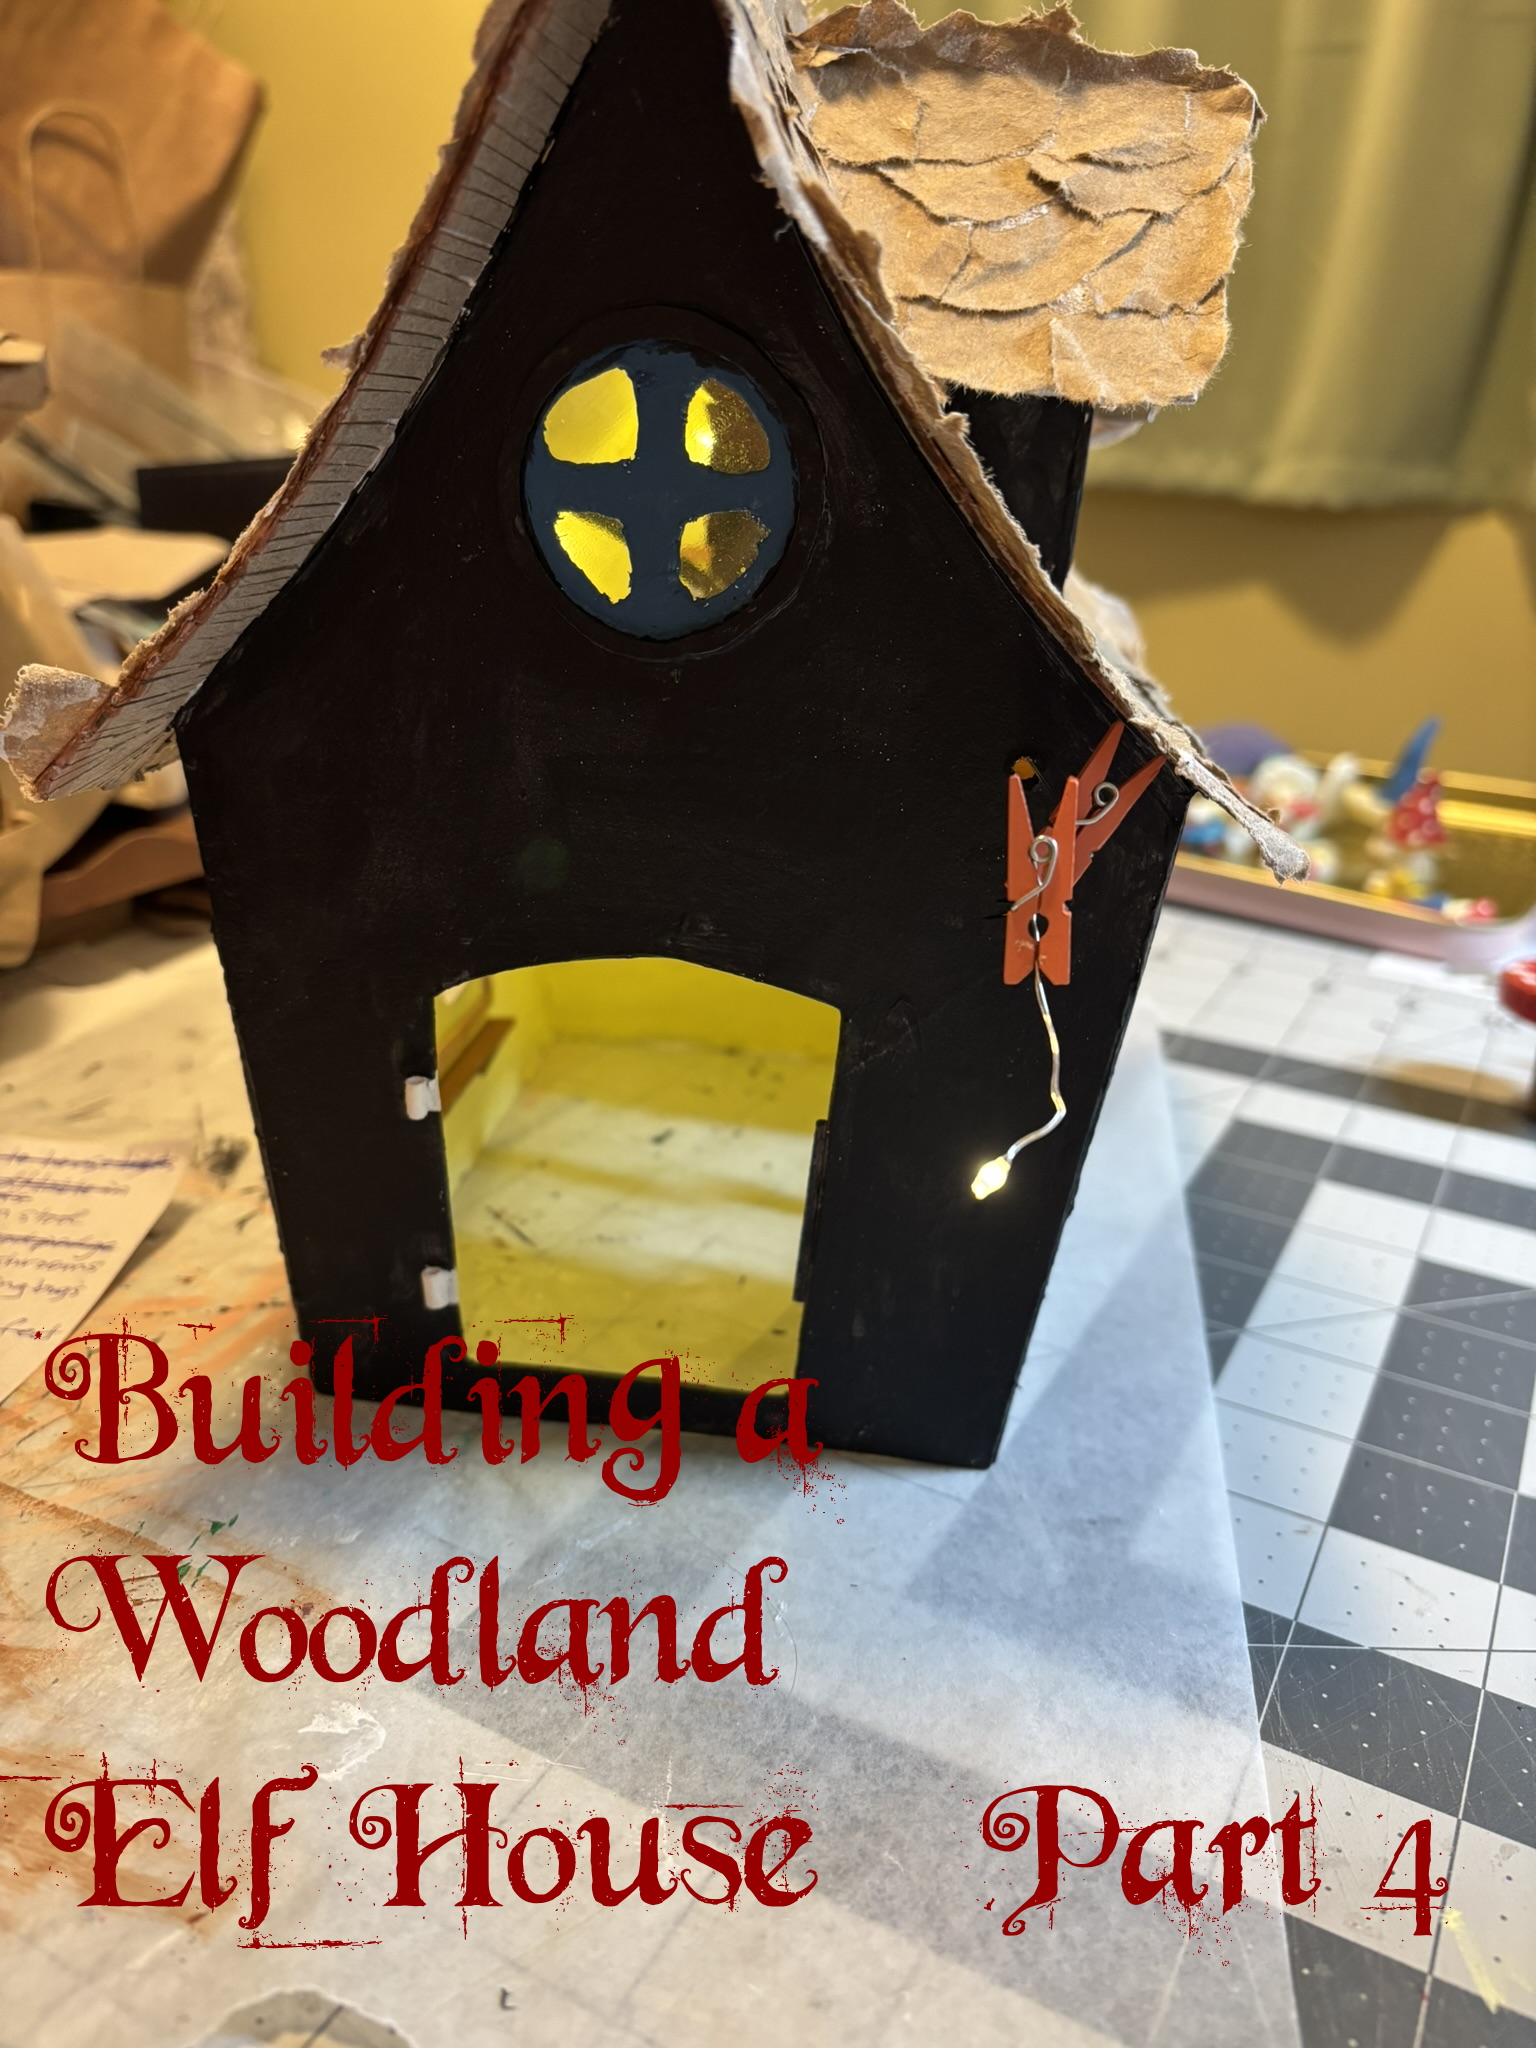
I compiled video clips and added some voiceover here and there for the latest installations on the house. I completed more of the inside the house, created more furniture and moved on to the features on the exterior of this Woodland Elf House (1:24 scale) which is built from recycled household materials and glue.
Installing lights; creating toadstool table and “woodcut” stools, boot bench, water table (with cups, ladle and bucket); finishing the base; making bark siding and painting finishing touches on the eaves and rooftop.
This one went a little long and I found myself needing to cut it off just before 45 minutes. I sincerely hope people actually find interest and watch it all the way through to the end. I’m trying to get part five finished very quickly on the heels of this one.
I’ve found that I’m beyond ready to move on to a new project so I’m trying to derive a lot of fun from the editing process and instill the reverence I felt while creating the house, its elements and any things or creatures that live around it. Trusting the process…
Excitedly adding roofing and moving inside to work on the house further by doing things like adding windowpanes and painting the inside surfaces.
After installing the loft space I needed a ladder to access it and of course wanted to add the bed and little nightstand up there but they needed painting and bedding first.
The pot belly stove needed a stove pipe and chimney. Then there was the pebble flooring and nifty shelves added beneath the windows. I also added simple hinges so the front door could be installed.
Everything is just a little wonky but it’s adorable and coming right along.
If you’d like to watch the step-by-step video then here it is. Remember to like the video and leave a comment.
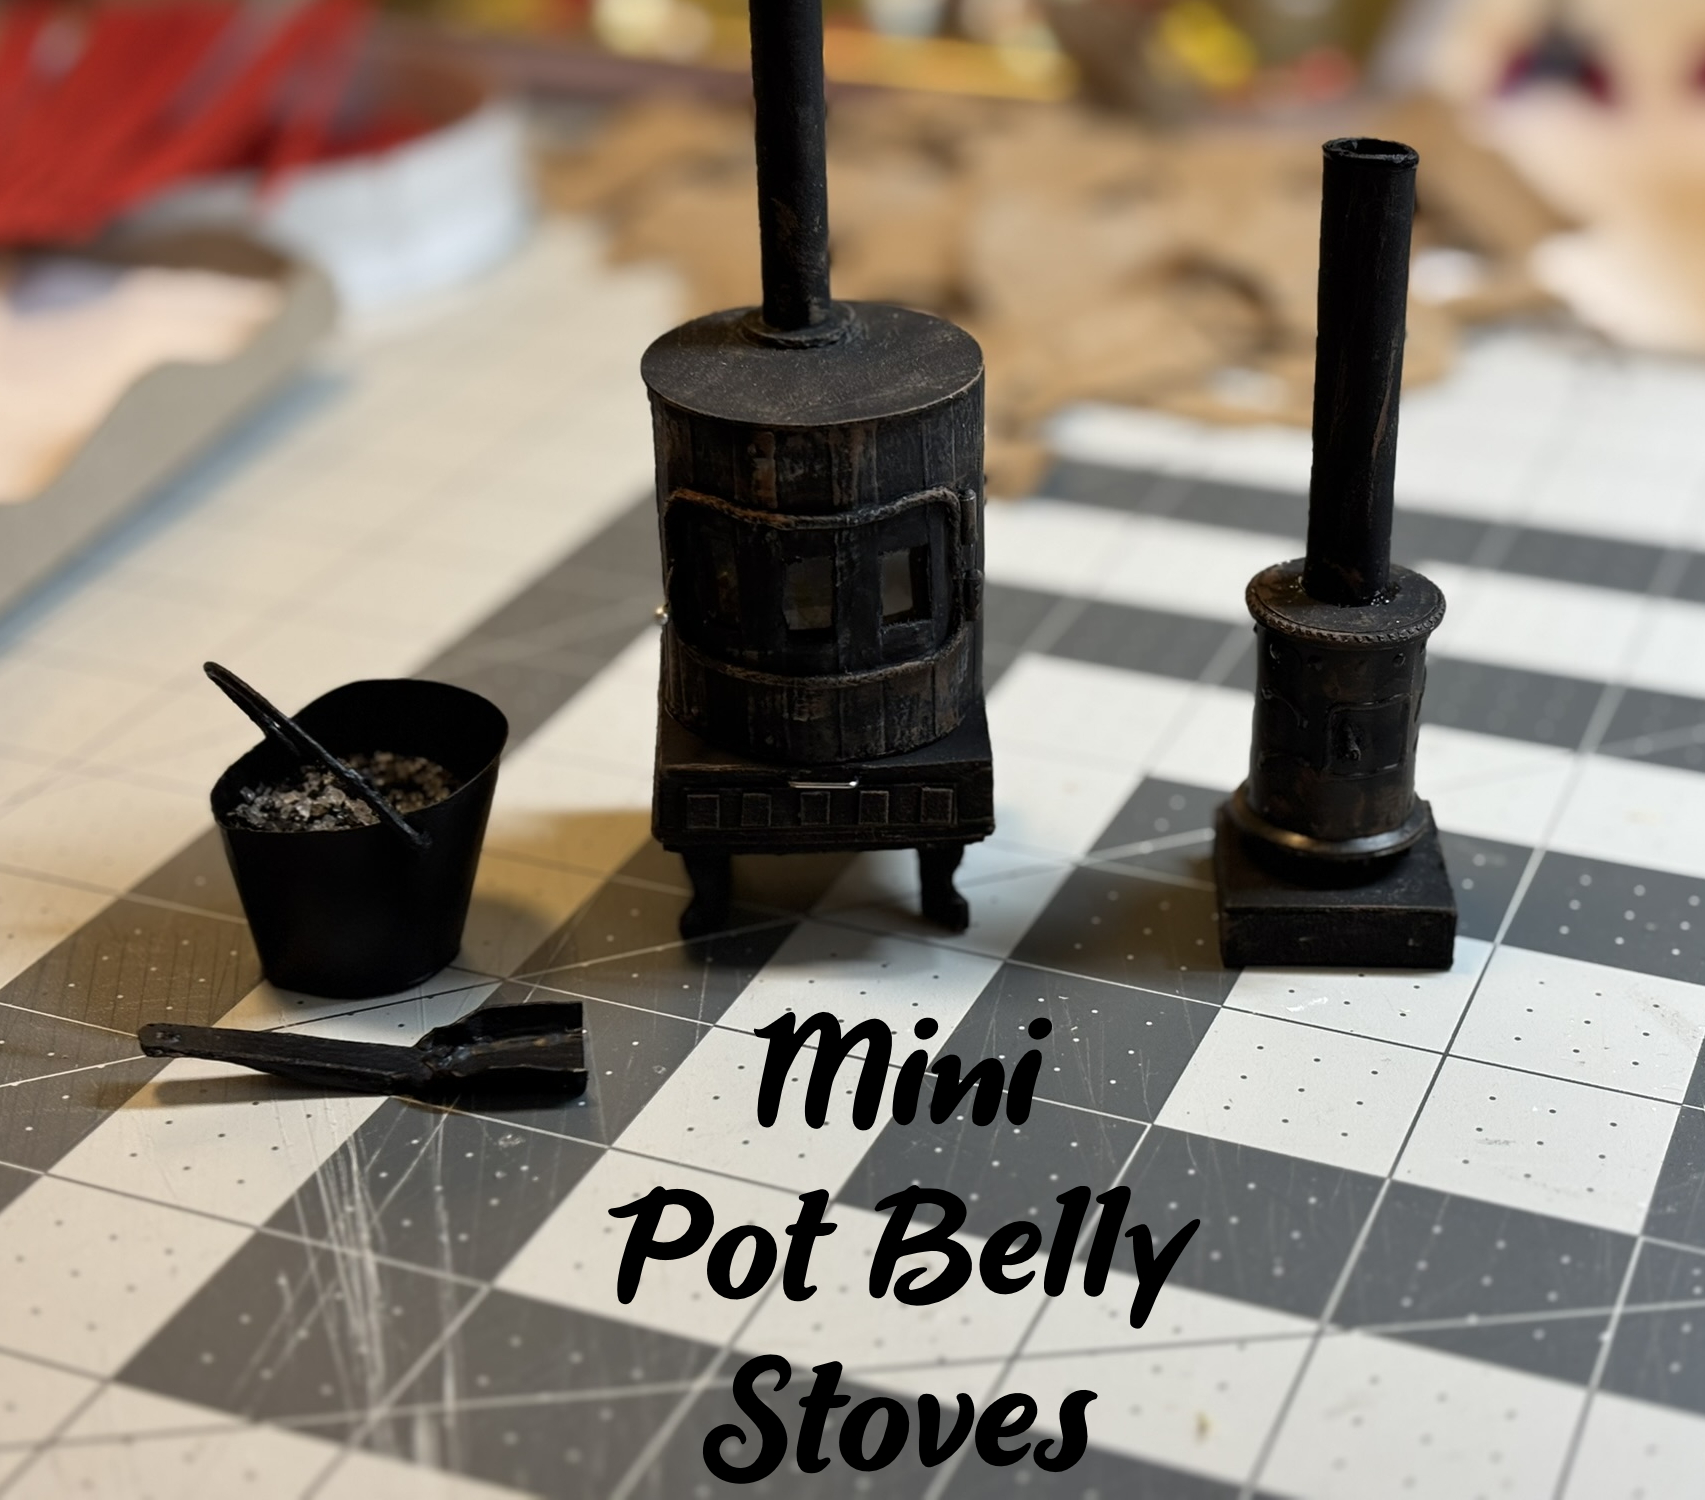
In the process of work on the Woodland Elf House, I built TWO pot belly stoves alongside each other! The main one is done in 1:12 scale and will be installed into the kitchen of my cardboard cottage while the small one is 1:24 scale and will be installed into the Woodland Elf House, which is nearly finished. These stoves are built from recycled household materials and glue. The large one is made of paper, cardboard, packaging plastic and a sewing pin. The small one is made primarily of a thread spool, paper, cardboard and the tip of a toothpick. They were painted with craft paint and then dry-brushed with more craft paint to bring out the details.
Once construction began on the main stove, I realized I wanted to make a small shovel to remove ash from the stove. I instantly imagined a shovel I remember being used in the fireplace growing up. It was stamped from one piece of metal and then crimped and bent into shape. I basically recreated that shovel (using recycled cereal box chip board) which was a wonder to me as a child.
Later, having the stoves and the shovel led me to realize I would be making a small bucket where the manager of the pot belly stove would put the ashes. Using simple scrapbook card stock and a length of thread I was able to make a handy bucket. As a point of interest, I place the contents from a couple of “do not eat” silica packets which include both black and clear pieces and look mysteriously like ash in the bucket, but this detail was not included in the video as I did it much later.
If you’re merely interested or if you endeavor to build pot belly stoves for your dollhouse, then please take a look at my video posted on my YouTube channel. Drop me a like and make a comment if you’re so inclined.
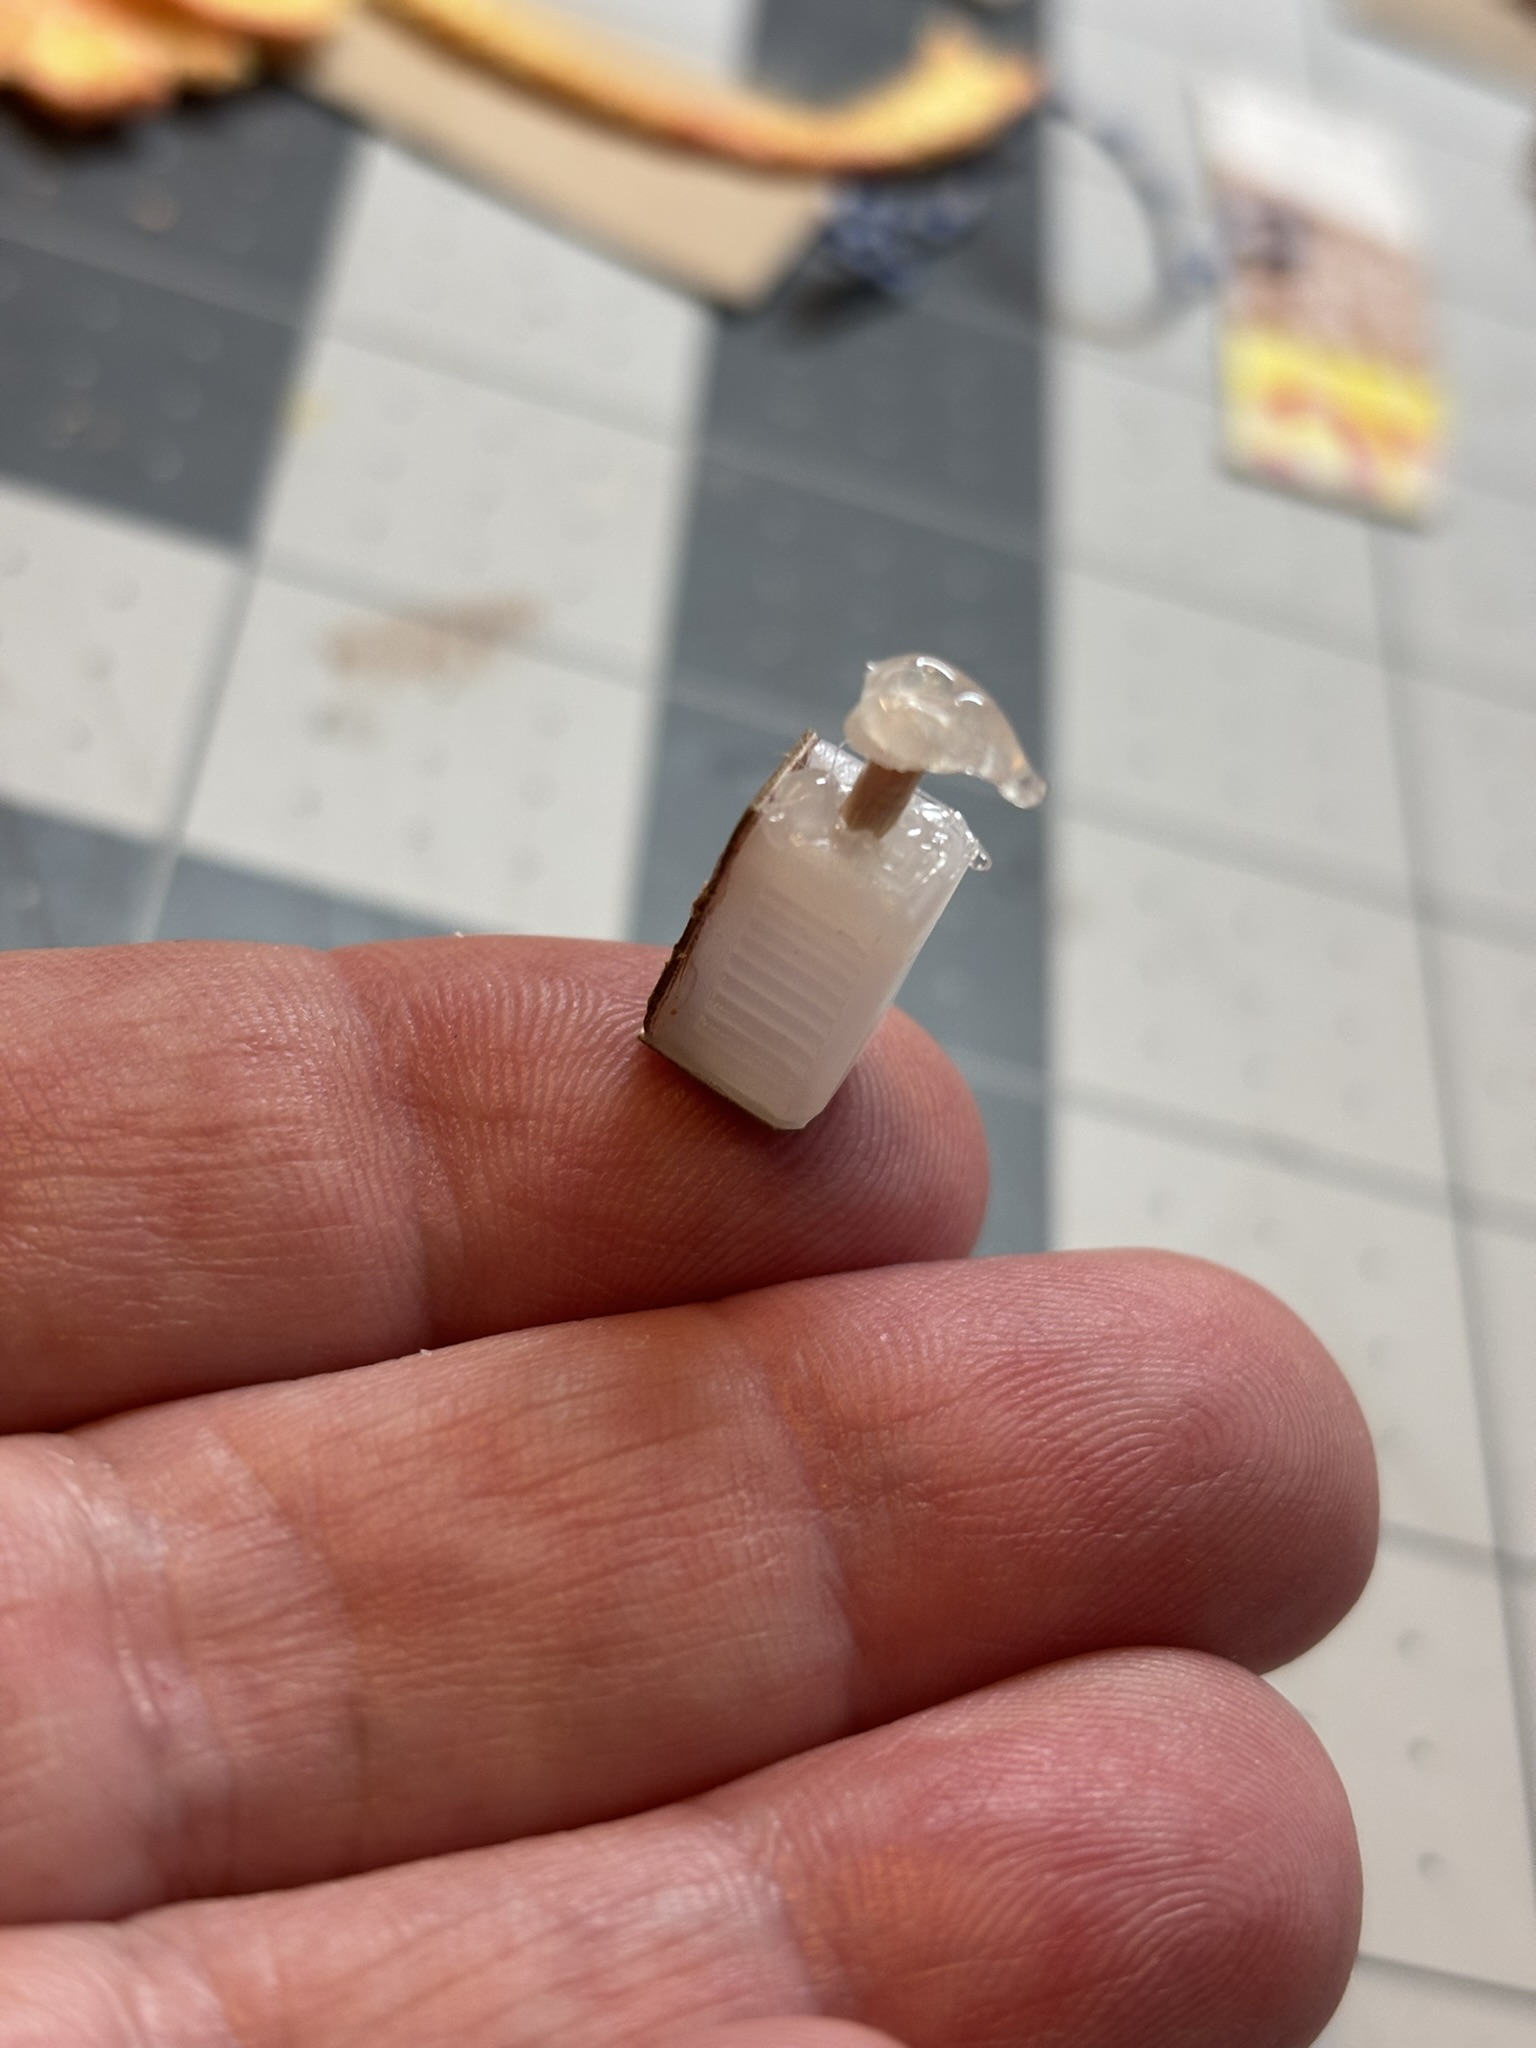
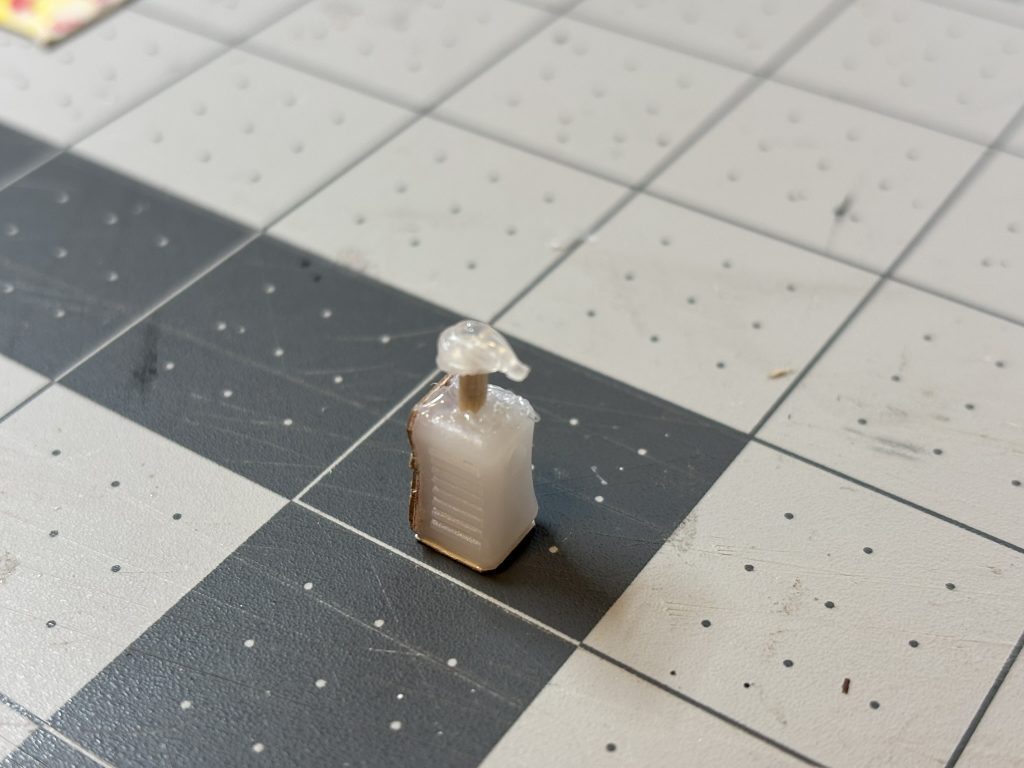
This was a quickly satisfying miniature to create! Here are the steps I took:
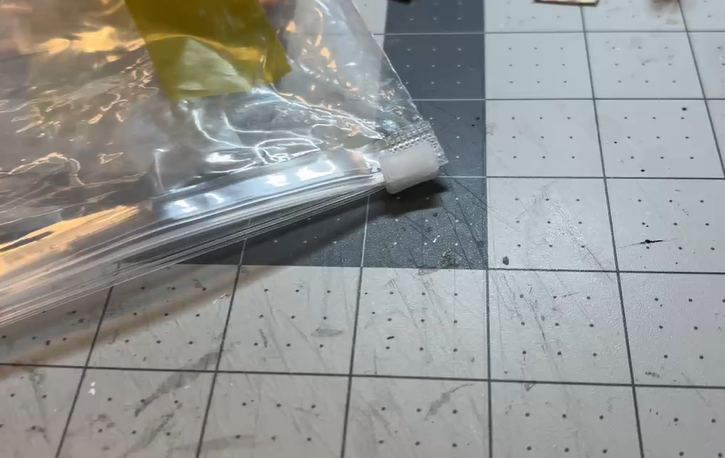
Took a plastic zipper head off a plastic bag (that housed something I’d ordered from Amazon)
Sanded the back and bottom a bit to allow the plastic to accept glue
Added craft glue to the back and set on cereal box chip board and set aside to dry
Trimmed away excess chip board material with scissors
Added craft glue to the bottom and set on cereal box chip board and set aside to dry
Trimmed away excess chip board material with scissors
Cut a 1/2″ length of toothpick
Used precision tip hot glue gun to make a small bead of hot glue onto a metal surface, drawing the tip away to cause a teardrop shape with a flat bottom.
Filled the zipper head with hot glue (held head with tweezers to avoid burn)
Placed toothpick length into top of zipper head
Scraped teardrop shape from metal surface and used small dab of hot glue to adhere to top of toothpick
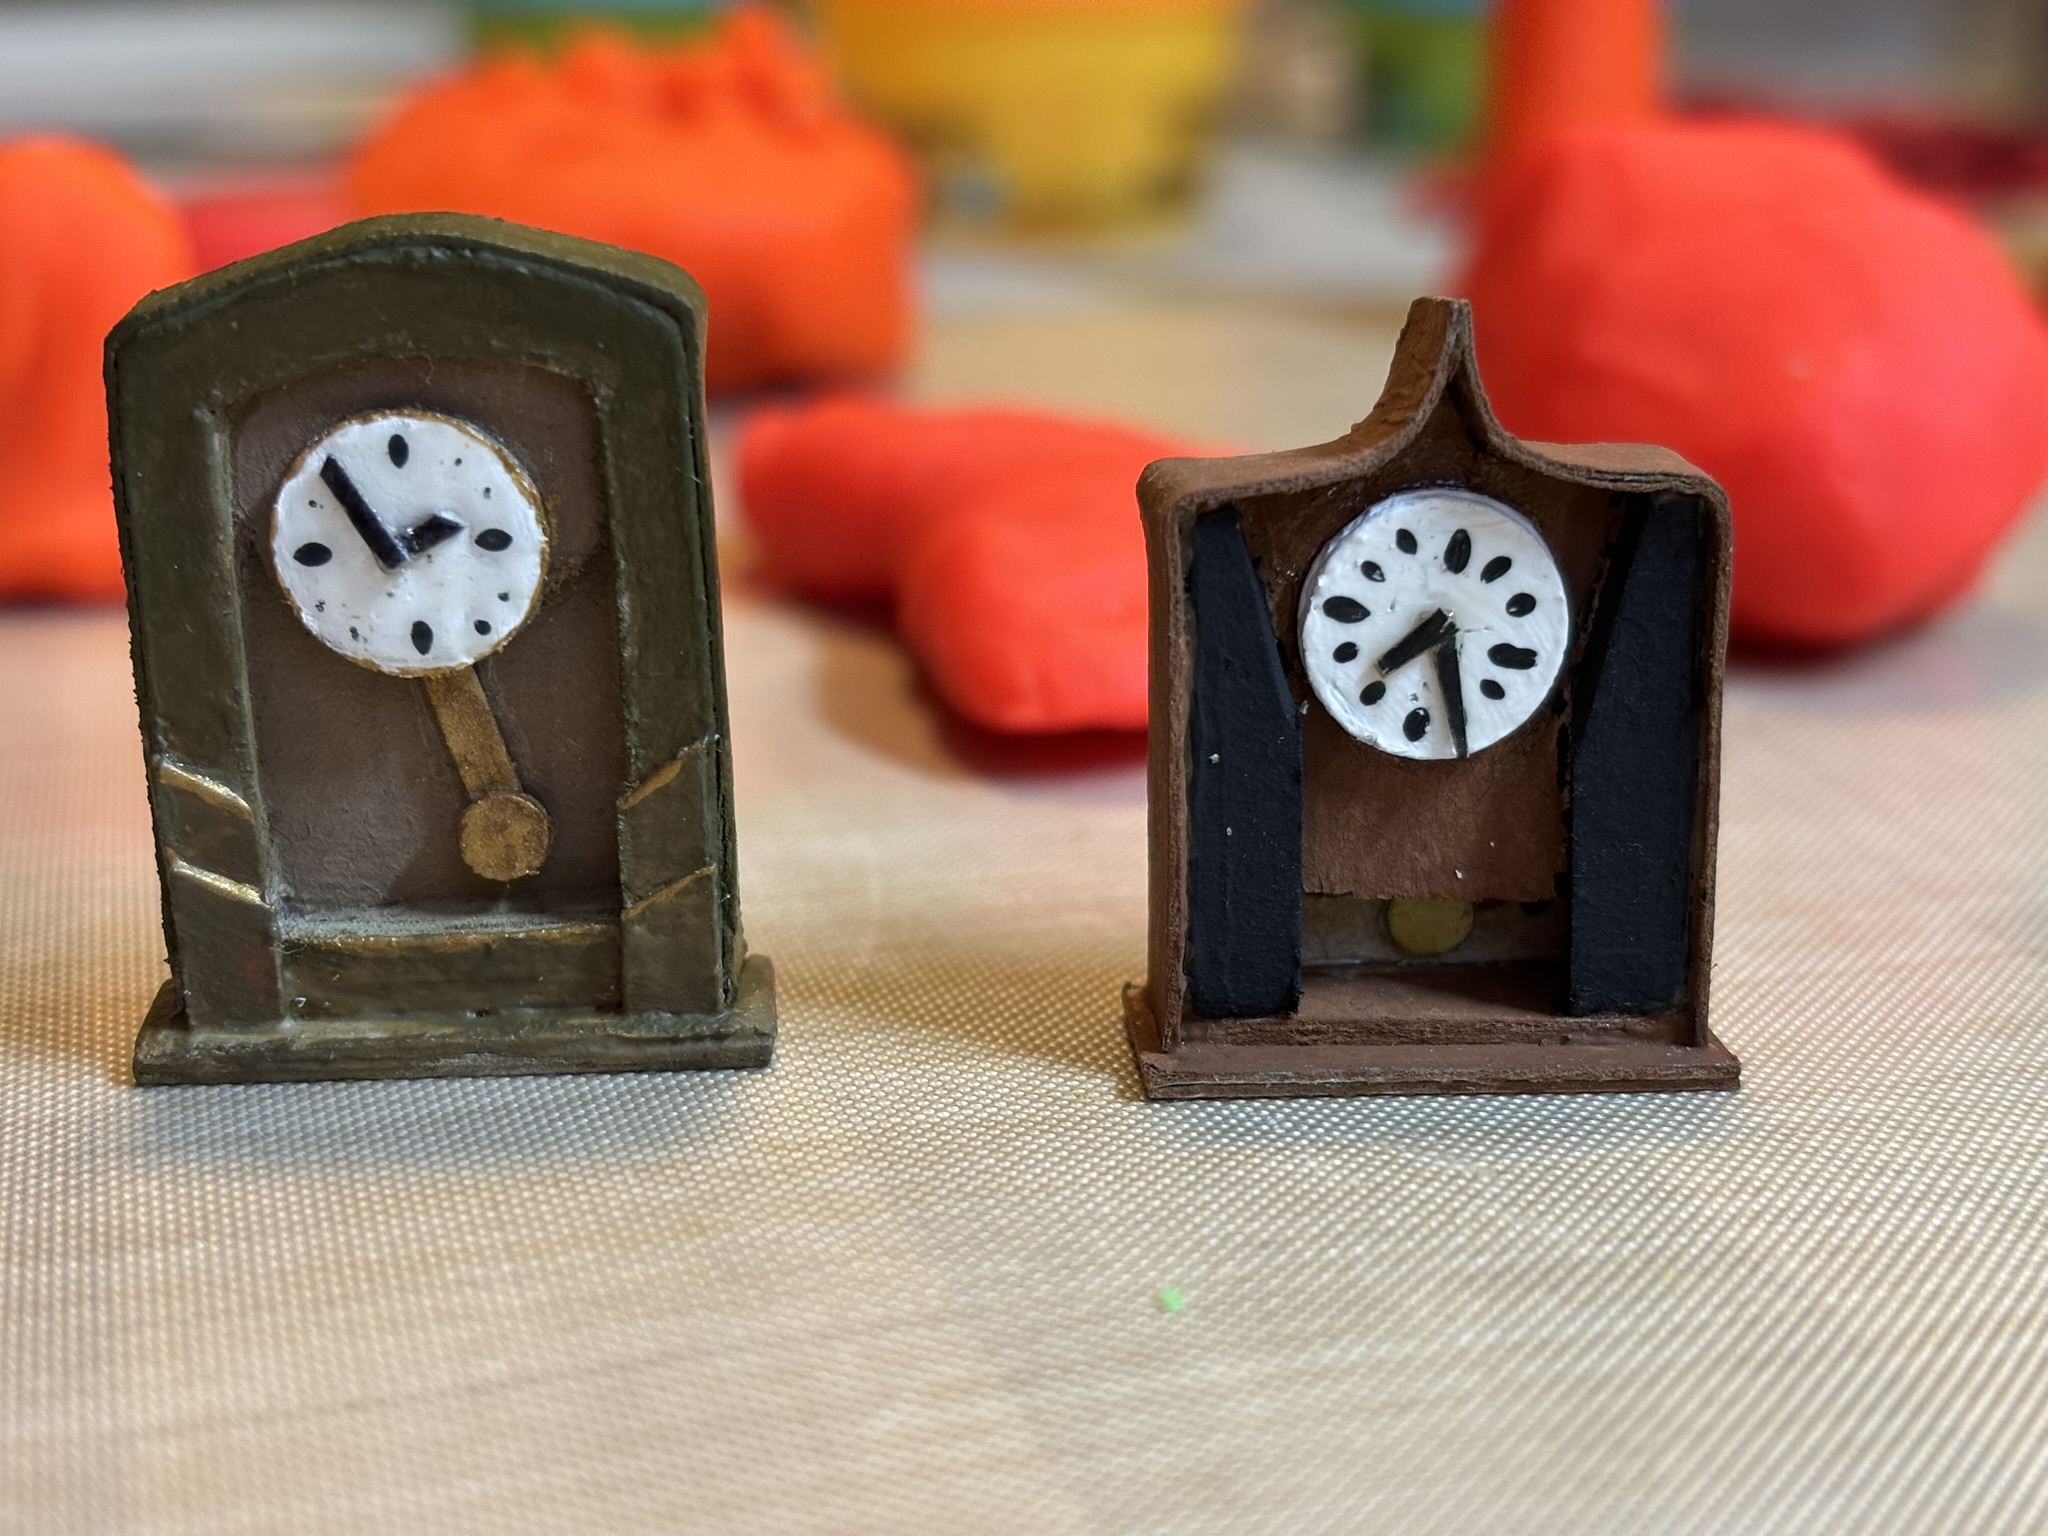
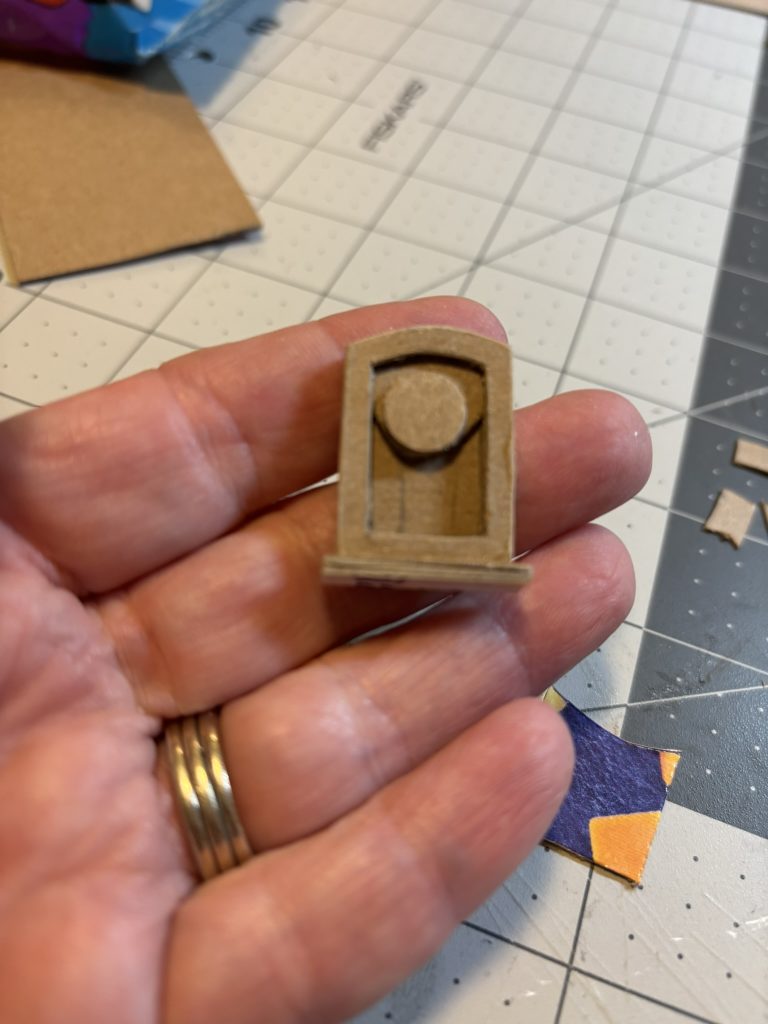
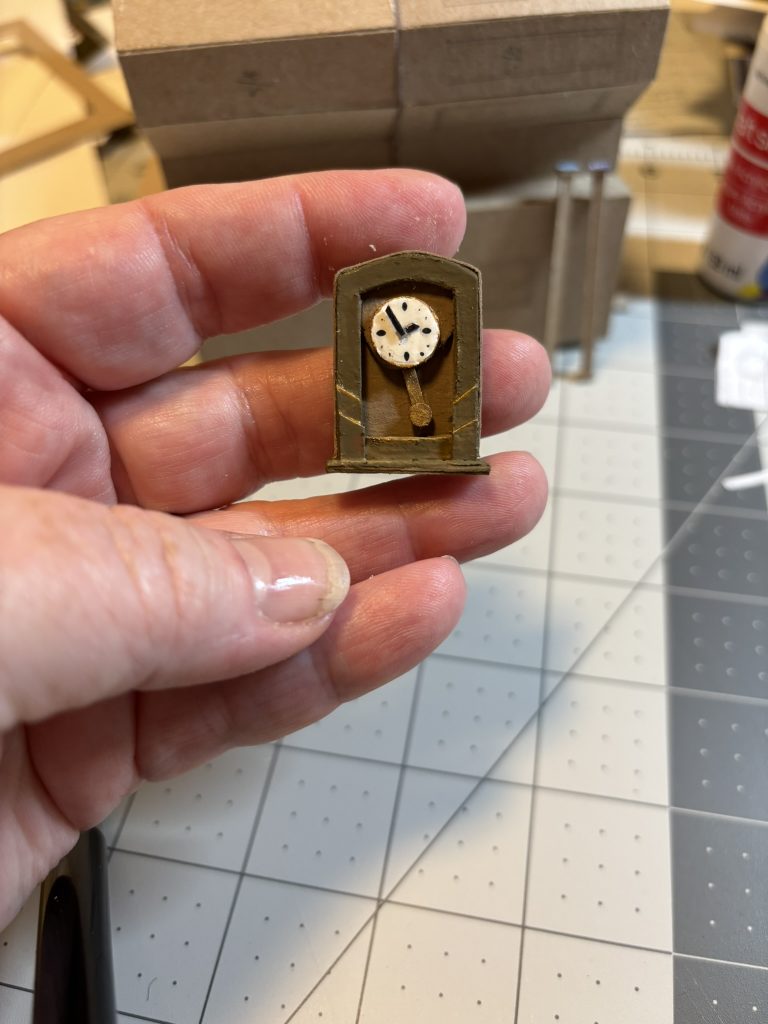
I made these little clocks out of paper! I was inspired after watching a video tutorial on making clocks of this nature. I just had to share them!
I am enamored by the work done by Laura on the Tinyview YouTube channel (@lauras-tinyview). Her channel has some wonderfully explanatory videos for anyone looking to get into this art form. She definitely makes it looks easy. See her video here: https://youtu.be/ucXQ1o9P73A?si=1pMwMUCz6fzRqgbN+
As I mentioned in the post on part 1 of this house, editing video footage proved to reveal that more than one video would be required. I now know at least a part 3 will also be required. I’m going into detail and showing how I built it from the tabletop up (ha!). Then, of course, there are the things that go inside. I’ve worked on cutting into the roof and making a dormer window on the exterior, while on the interior I made the loft, railing for the loft, small bed 1 and small bed 2, and a nightstand. Of course, I have lots of ideas but when it comes to making them into reality things change. So, we’ll see how the remainder of this build goes.
The next steps will move this project right along and I’m looking forward to seeing it. I’ve also planned to make a bucket for water, table for bucket and maybe a “cushy” chair. I was thinking about installing the first bed I made on the bottom floor but it really is just too big I believe….final decision is yet to be made.
Take a look-see and comment to let me know if you have ideas.
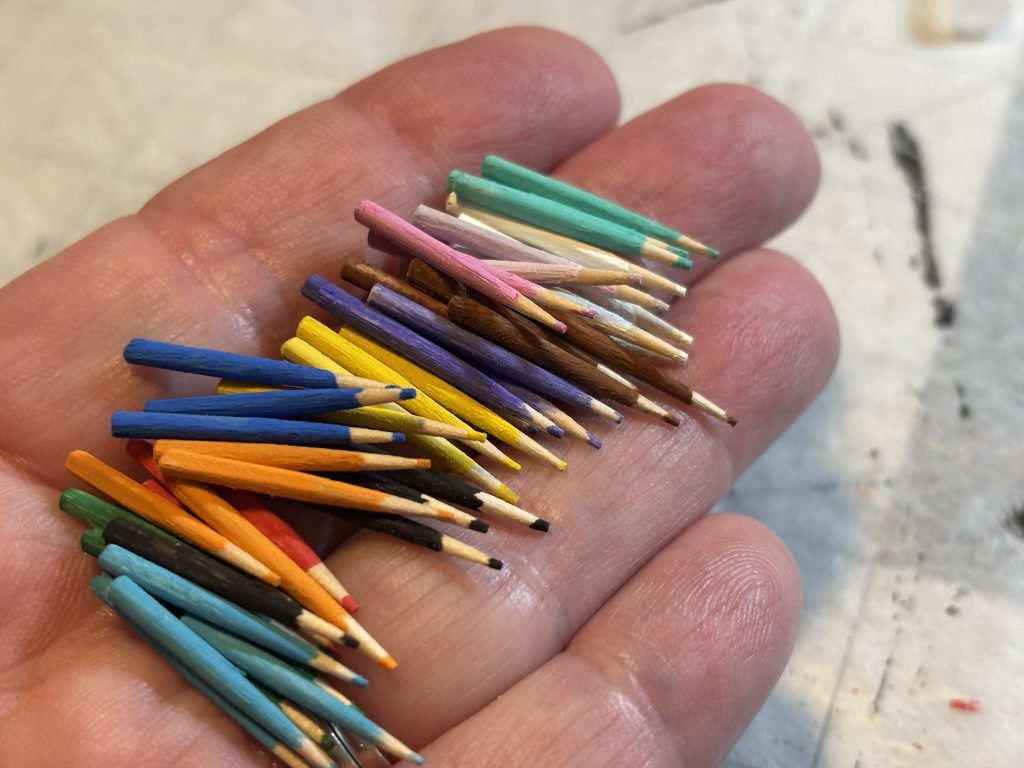
Making these tiny colored pencils, their little cups and a tray to house them was a fun project. As a bonus, it helped provide focus for the office area in the 1:12 scale cardboard house I’m making…stay tuned for that as I will be working on it much more after I finish the elf house. This was a relatively easy thing to make with some basic tools and some patience.
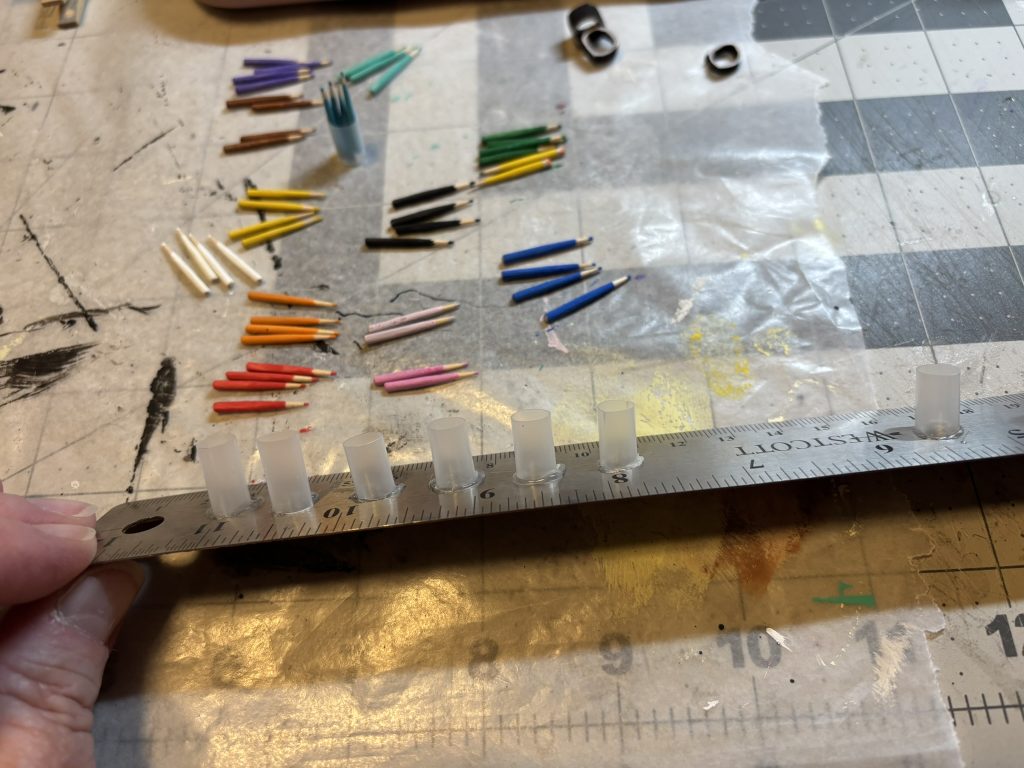
I started with toothpicks and cut them all the same length (mine are 7/8″) with the uber-handy miter shears, then sanded the cut sides flat and smooth. I decided how many of each color to create then painted the pencils and their tips accordingly craft acrylic paint straight from the bottles. Next, lengths of drinking straw were used as cups. I sealed the bottom sides by pressing them into a pool of hot glue I’d placed on a metal surface to get the flat bottom, then, once it was cooled, I trimmed excess pooled glue away with scissors. The tray is made from card stock which began with a thin strip of card stock which I fashioned into a circle and attached the ends (attached end to end and then secured with printer paper pieces glued on either side across the join). I glued (tacky glue) the circle to a flat piece of card stock and set about waiting for the glue to dry again. Once the glue was dried, I trimmed excess away with scissors.
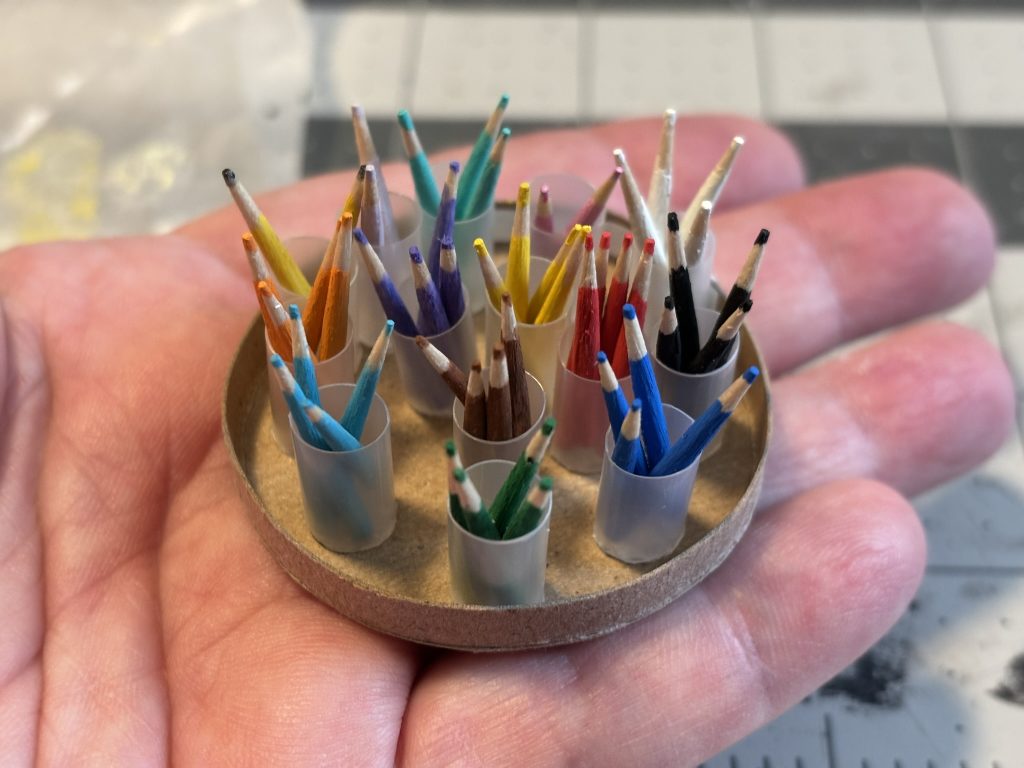
My recommendations:
use tacky wax or glue the cups onto the tray (and possibly the pencils into their cups) because it is difficult to move the tray around maintaining upright ups and placement on the tray.
resist the urge to dip the wooden picks as it adds too much paint and loses the realism. I used a small brush to paint on the paint.
paint two coats of the paint to get coverage sufficient to look like a real life-sized colored pencil
avoid using markers to create the pencils as the marker ink tends to wick in the wood. I did have luck darkening a pale pink paint with a marker carefully applied atop the paint as I wanted a brighter pink.
since all the materials out, I went ahead and created a couple of writing pencils with yellow paint, dark grey sharpened tips and pink nubs to simulate erasers. I used a gel pen to draw a line between the pink and the yellow paint simulating the metal ring. I have not pictured those here but they’ll make their debut when I create the office space mentioned above.